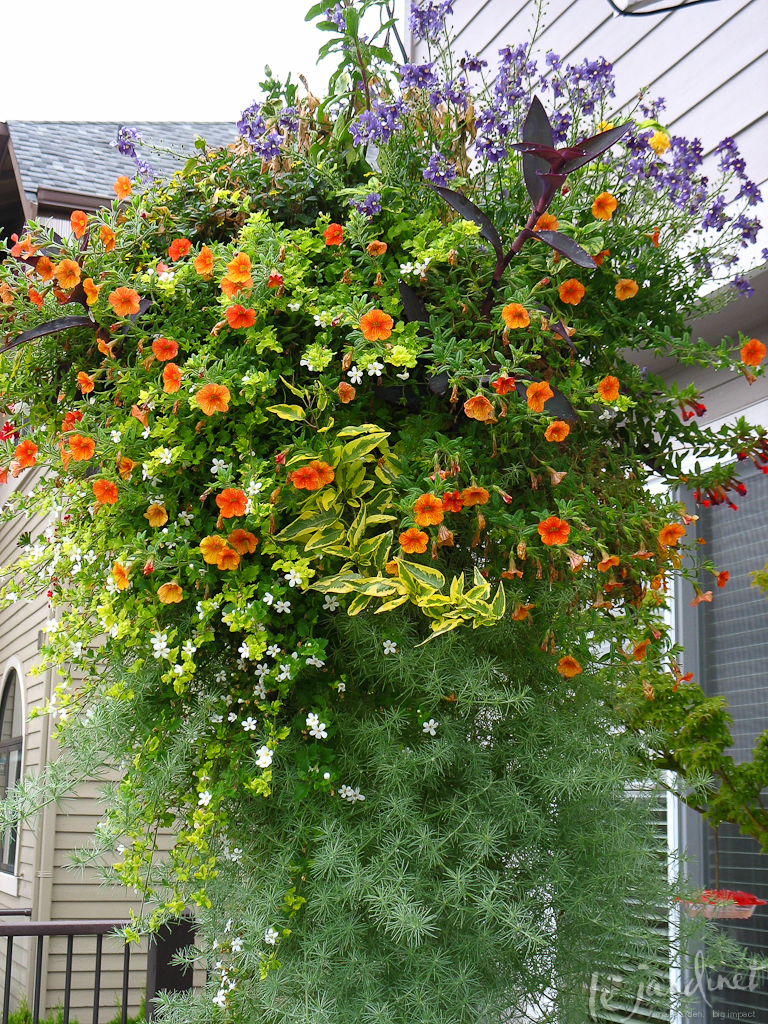
Nurseries are full of hanging baskets at this time of year, seemingly in every color and plant combination – except the one you want, right? How often have you found the perfect basket, wrestled it onto your cart then gone trundling around the nursery yet again trying to find a perfect match? Even if you find it you then have nothing short of army maneuvers trying to get two 3' wide, super-trailing baskets into the back of your Prius….. Sound familiar?
The solution? Plant your own! You'll save money and get exactly the colors and plants you want. You can coordinate your plant choices with anything from the trim on your house to the cushions on the patio chairs. Choose wild, zesty colors, an elegant green and white scheme or design with just foliage. It takes a little bit of time but the results are well worth it. Here's how I do it.
Basket selection
I prefer baskets where I can plant the sides as well as the top to achieve a really full look. That means using a wire frame with sufficiently large gaps between the struts that I can stuff plants in-between. If the spacing is very wide I might need to add a layer of chicken wire first to stop moss falling through.
Lining
Next comes the lining. There are several options here. The traditional method is to use sheet moss soaked in water, then starting at the base push this against the sides of the basket extending to 1" above the rim. You are aiming for an even cover about 1” thick. This can be time consuming and messy as you have to patch up holes like a jigsaw puzzle as you go but it definitely gives the softer and more natural look which I like.
Pre-shaped liners are an alternative and these can be moss which is attached to a mesh making it easy to work with, or either coir or coco fiber which look like dead moss (i.e. brown)! It’s not my favorite option and is tough on the hands but I know that some folks like it, is more readily available and it lasts for several years.
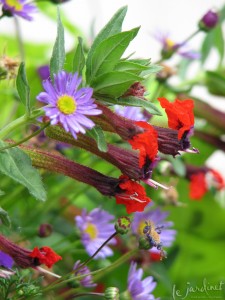
Stuff fun plants into the basket sides. This red and purple annual is called 'Tiny Mice'. Can you see why?
Soil mix
Now get the planting mix ready. I combine 80% soil-less potting medium with 20% organic matter; either fine compost or a product such as Gardner & Bloome ‘Blue ribbon potting soil’. For every cubic foot of planting mix I add about 1 tablespoon of a granular slow release balanced fertilizer such as Osmocote.I don’t usually include moisture retention polymers as most of my clients have drip irrigation systems for their baskets so adequate watering is not a problem. However where hand watering is the only option it might be a good idea to add these. Experience leads me to suggest that you use just half the recommended amount, however, as I find they actually hold too much moisture and the soil can become overly saturated. In this situation plants such as coleus can rot.
Place the basket on top of an empty plant pot to raise it up to a good working height and keep it stable. If you have a ‘lazy Susan’ it helps to set this pot/basket combination on top to make turning easier.
The squish factor!
Decide how many tiers of plants you are going to add to the sides. This will depend upon how high the basket is; one or two tiers is typical. Add enough soil to come just underneath where you want the lowest tier of plants to be. Gently make an opening in the lining either by pushing the moss to one side or cutting a hole in the liner. Using 2” sized plants (often called basket stuffers), remove them from their pots and wrap the roots in a little cling film or plastic to make sliding them easier. Gently push the plant roots through the hole, rest them on the soil surface and remove the cling film. Repeat as desired adding more soil to reach the next level, staggering the 2” plants on each tier to vary color and texture and allow for even coverage.
Now you are ready for the
top. Start with an upright plant in the center then add other trailing and mounding 4” plants around the edges. If there is room squeeze a few extra 2” plants into this layer too. You’ll probably have to
squish things in a bit, moving root balls around to find space for everybody. Aim to have a good thick layer of moss at the rim and finish the soil ½” below this.
Water the basket gently with a fine shower setting on the hose, being sure to completely saturate the sides as well as the top until water drips freely. Remember some of these roots systems are tiny and a long way down!
For clients I try to grow these on in my unheated greenhouse for a week or two before delivering and hanging them, but if the night temperatures are above 50’ then they can be hung outside straight away.
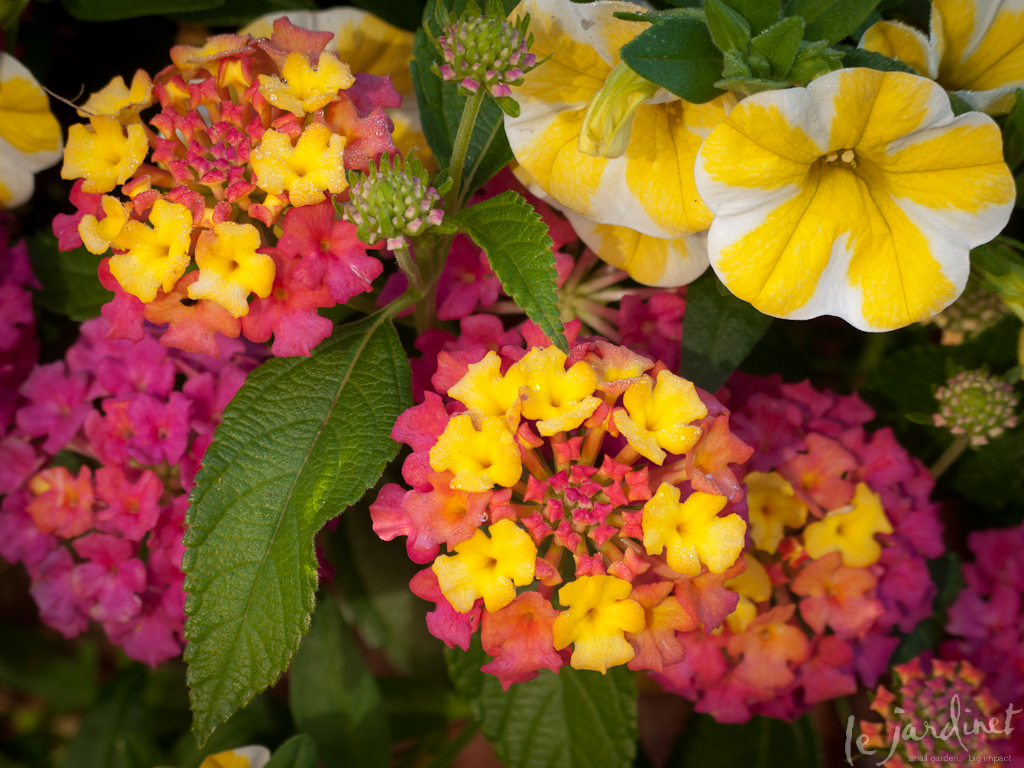
'Lemon Slice' million bells and 'Berry Luscious' lantana make stunning partners
Maintenance
The baskets will need watering every day unless it has rained heavily, and even twice a day in high summer. Adding a drip irrigation system is the easiest way to accomplish this but otherwise use a hose to saturate sides and top thoroughly. You will be well rewarded with visits from hummingbirds and compliments from neighbors!
How many plants do I need?
For a 16” diameter, 9” deep basket;
18 x 2” plants (3 each of 6 different varieties*),
6 x 4” plants for top layer,
1 x 4” upright plant for the center.
*You will use 6 x 2” plants on each of two side tiers and the final six on the top tier.
Favorite trailers and edgers plants for sun;
Lotus vine, silver falls (Dichondra), purple bell vine (Rhodochiton), million bells (Calibrachoa), verbena, fleabane ‘Profusion’(Erigeron) , trailing geraniums, fan flower (Scaevola), sweet potato vine (Ipomoea batatas), lantana, bacopa, Alyssum
Favorite upright plants for sun;
Dwarf varieties of New Zealand flax (Phormium) such as Jack Spratt, upright geraniums, Zagreb tickseed (Coreopsis), Gaura
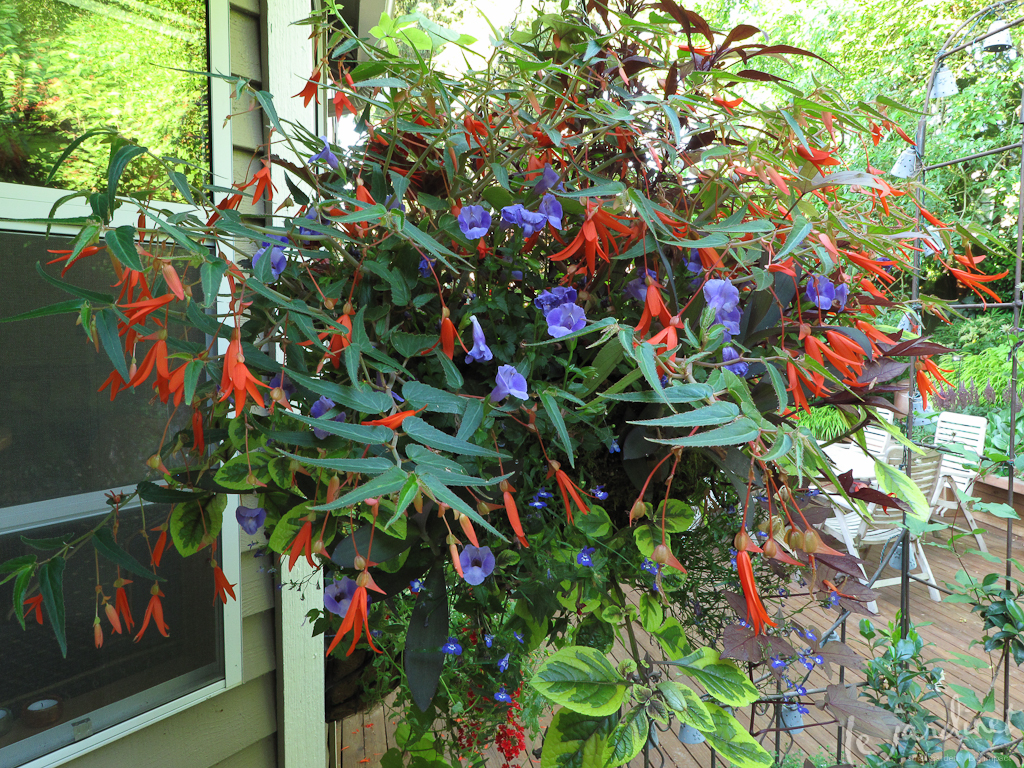
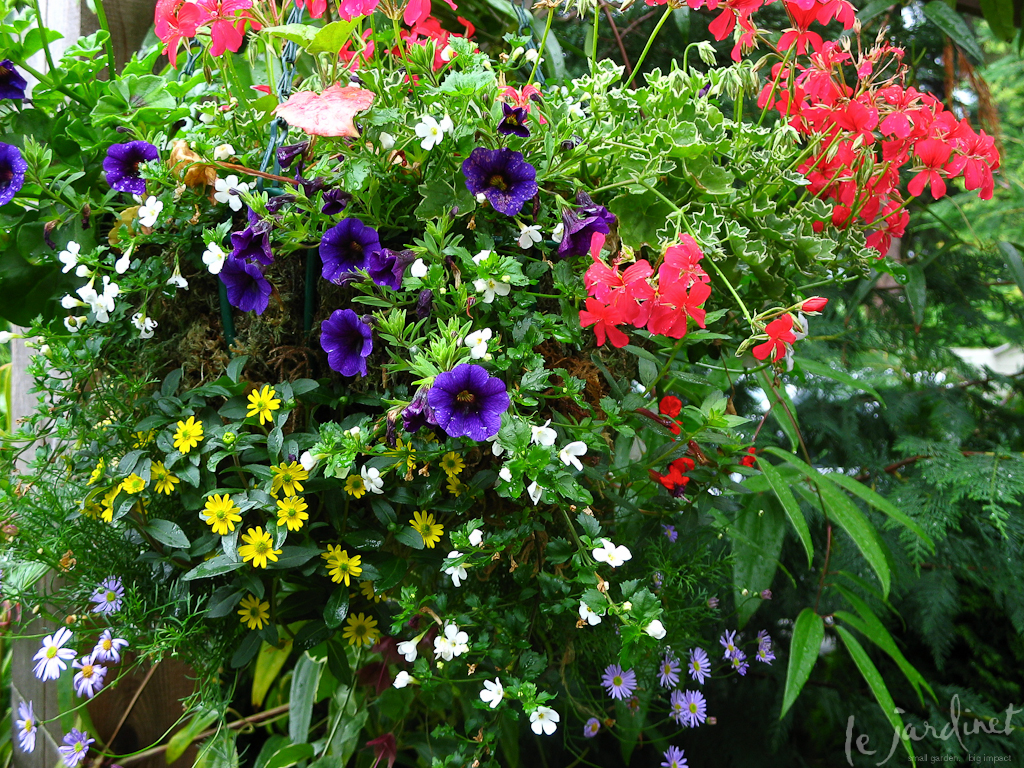
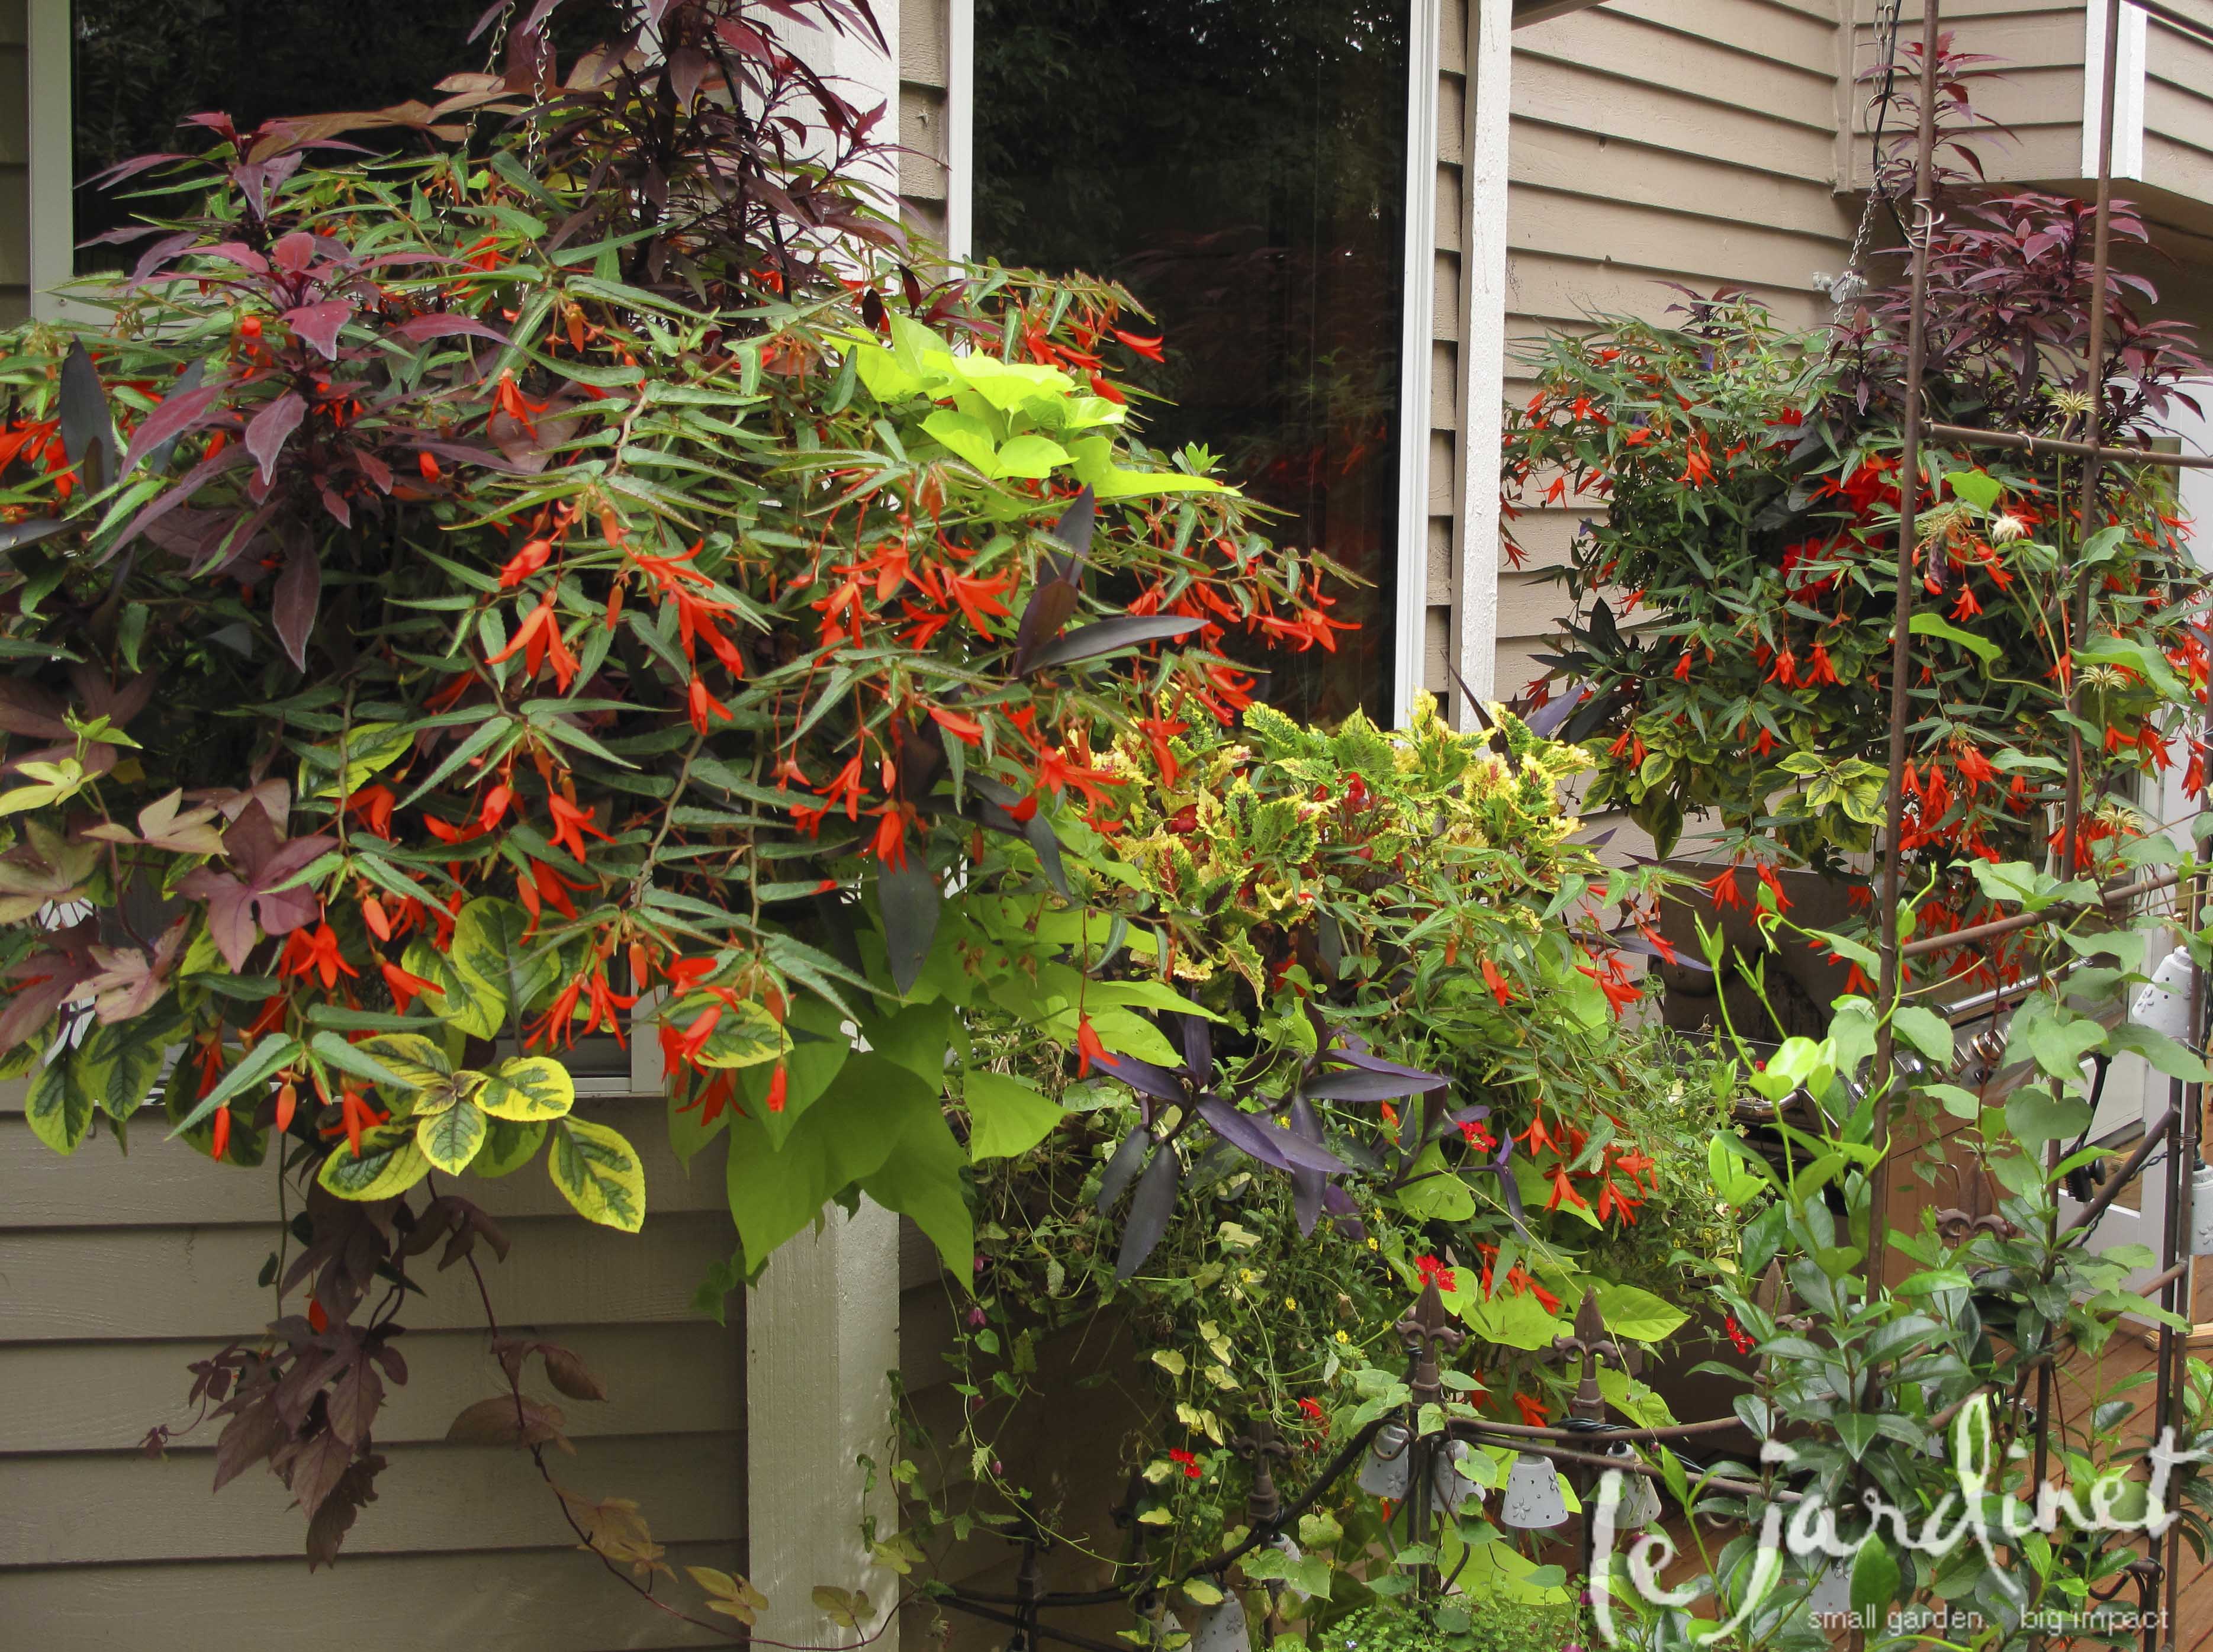
Great combo for shade; 'Bonfire' begonia and 'Midnight Blue' Torenia
Favorite trailers and edgers for part shade;
Black mondo grass, impatiens, cuphea, purple bell vine (Rhodochiton), Swedish ivy (Plectranthus ciliatus), purple heart (Setcreasea pallida), verbena, begonias, fuchsias, fan flower (Scaevola), wishbone flower (Torenia), sweet potato vine (Ipomoea batatas), asparagus fern, periwinkle (Vinca), ivy
Favorite upright plants for shade;
Coleus, ferns, taller Heuchera, Croton, orange hair sedge (Carex testacea), upright heliotrope
I avoid plants which need endless deadheading such as marguerite daisies (Argyranthemum) or African daisies (Osteospermum) and use million bells over trailing petunias as they perform better in our unpredictable summers. I also prefer zonal or fancy leafed geraniums rather than Martha geraniums as the latter do not give enough color.

"Place the basket on top of an empty plant pot to raise it up to a good working height and keep it stable. If you have a ‘lazy Susan’ it helps to set this pot/basket combination on top to make turning easier." I've found this to be one of the most useful container tips I've put into practice.
Love the lantana / 'Lemon Slice' combination. I've always wondered what to pair with those bold stripes. Very nice article.
Thanks Marie. The lazy Susan idea was given to me by an audience member as I demonstrated planting containers on stage, doing contortions to try and plant backwards….. This is so much easier!
I would like to do better this year with my baskets. These are all great tips Karen!
Thanks Jennifer. I often take 'risks' with my own baskets, experimenting with different colors and combinations. I'll post a few photos if I'm happy with 2013!
Ever since in saw you at the Seattle Garden Show demonstrate how to plant containers I have been putting a lot more plants into my pots and oh they just look wonderful. I always learn so much from you and I take your book with me to the nurseries now.
Ann, I'm so glad that you found that seminar helpful. Sometimes it is actually seeing something being done that makes the difference doesn't it?
Thrilled to hear that you take our book to the nurseries – that's exactly why we wrote it 🙂